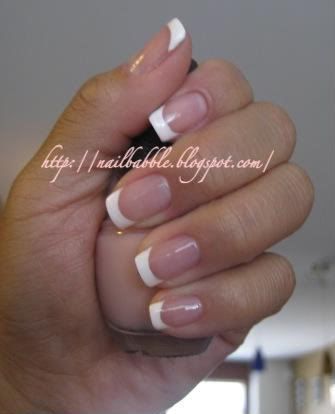
Hi guys! So I'm about to show you guys how to do a French mani on yourself. This is something that takes a bit of time to master, but it's not hard to do and I'll show you guys how you can be messy and still end up with pretty nice looking nails.
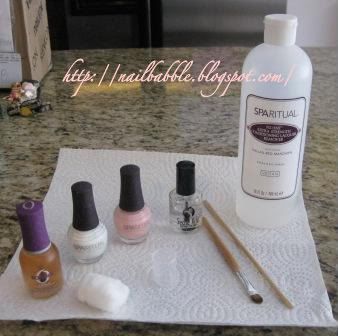
So to start with, here is a pic of the things that I used to do the French manicure:
 -basecoat (Orly Bonder basecoat)
-white polish (SpaRitual French Tip)
-sheer pinkish polish (SpaRitual Idyllic)
-top coat (Seche Vite dry fast top coat)
-cotton ball
-small plastic cap or a dappen dish
-french manicure brush
-orangewood stick
-nail polish remover (SpaRitual Fluent extra strength conditioning lacquer remover)
Okay, so just a few notes to begin with. If you guys buy a professional brand french tip white, most of them will come with a thinner brush and it'll be easier to work with. As for the french manicure brush, if you've got a nail supply store that sells to the public near you, you can check there otherwise I would suggest looking online. If you can find a concealer brush with a very small head on it it might work but I haven't personally tried this.
YOu can also grab those french manicure stickers but I DESPISE them. They never stayed on the corners of my nails near where the skin starts, they'd just lift. And every single time I lifted up the sticker, I was left with this ridge from the white to the actual nail.
Okay, so I'll be teaching you guys the easiest way to do a french manicure on yourself. Then after I'll let you know another way to do it. So what you want to do is complete a manicure up until neautralizing the nails. You can click here to find out how to do that.

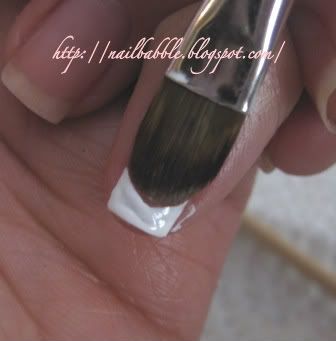
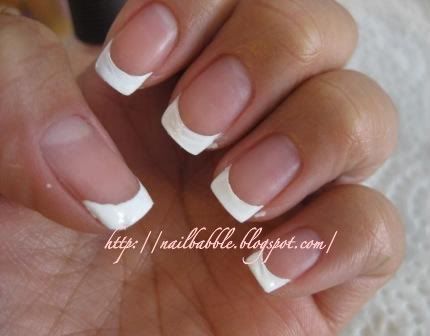
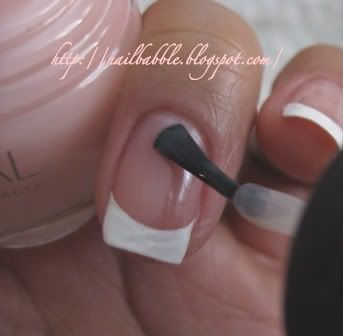
1. Next, you want to paint your smile line. That would be the crescent shape that mimics the whites of your nails. So you definitely want them to have that crescent shape. I think nails look horrible when they're just a straight line across. It makes your nails look wide and short. With a nice curve on them, they'll make your nail beds look longer. And remember, the thicker the line, the longer your nails will look, but you don't want them to look unnatural. You don't want a line that starts too far down on the nail bed, it'll look silly. You want to do this
ONE NAIL AT A TIME, then move to step #2.

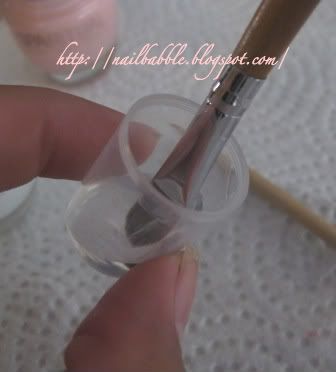
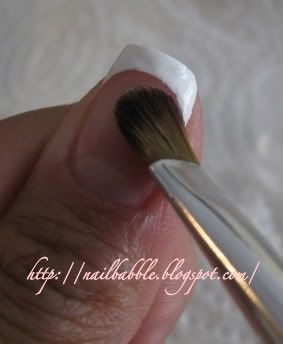
2. Here I filled a little cap with nail polish remover. You want to fully immerse your brush into the nail polish remover and shake off the excess. You want the brush to be saturated and wet.

3. Then slide the brush in a gentle back and forth motion to clean up your smile line and make it as perfect as possible.

4. Work your way through all your fingers cleaning up after each smile line. It will be easier to clean up the polish while it's wet instead of waiting for them to dry and then trying to clean them up.

Try to keep your tips the same height or length. If you've got a nail that is significantly shorter than the rest (we all break nails from time to time don't we?) you still want it to have the same amount of white tip length as the rest to give it the illusion that it's the same length as the rest of your nails.

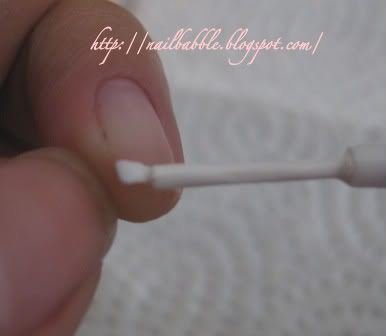
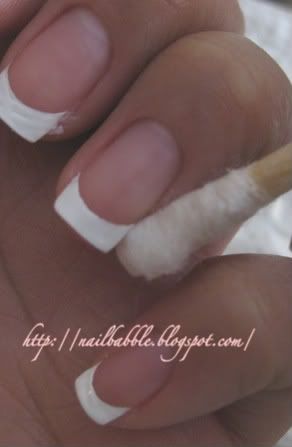
5. Next, wrap an orangewood stick with a bit of cotton, dip it in the nail polish remover and clean up any stray polish on your skin.

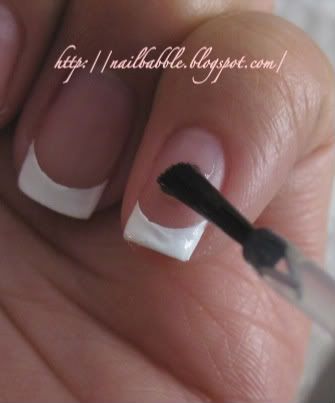
6. Now you can go in and paint a layer of base coat on your nails. The reason you apply your basecoat after the french tips is so you can clean up your mistakes without affecting the base coat.

7. Next, apply one coat of the sheer pink polish.

8. Then apply one coat of top coat and ta-da! Remember this is only the traditional way of doing french manis. You can use different colours, as well.

So if you're planning to use different colours...like say a more opaque colour instead of the sheer pink, then you'll have to do things differently. You'll definitely need a more steady hand, that's for sure. You won't be able to do the whole cleaning up with a brush thing. You'll have to rely on doing it right the first time around.
So here are the steps:
1. Complete a manicure up to neutralizing the nails.
2. Apply base coat.
3. Apply 1-2 coats of polish in your chosen colour on the entire nail.
4. Paint smile lines/tips in another colour.
5. Clean up the skin with an orangewood stick wrapped with cotton and dipped in nail polish remover.
6. Apply top coat.

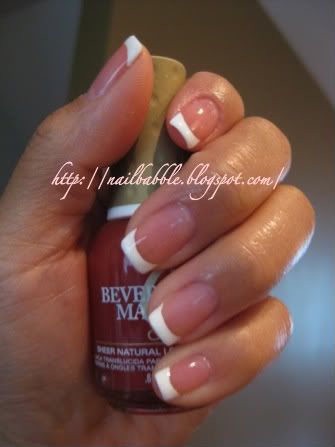
So I used this method to this set of french manicured nails. I used Orly's Beverly Hills Manicure Plum Polish as a all over colour. Then used white for the tips...as you can tell, it's not quite as perfect, but that's what happens when you can't clean up inbetween. I've spoken with a few people who have doing nails for years and years and even they say it's almost impossible to do a perfect free hand set without cleaning up.
But anywho, that's how you do it. Hope you guys have fun and let me know if you do a set on yourself. I'd love to see!